Guide
EV Charging at Home: Complete Installation Guide & Best 2026 Chargers
TL;DR
A hands-on home EV charger installation guide for 2026: electrical requirements, permitting, DIY vs. professional install, and the five best Level 2 chargers I'd actually buy this year.
I’ve helped friends and family put in more than 40 home EV chargers over the last four years, and the single biggest mistake I see is people buying the charger first and worrying about the electrical second. That’s backwards. The charger is the easy part. Your electrical panel, your wire run, and your local permit office are what actually determine whether this is a $700 afternoon or a $4,500 ordeal.
This is my updated 2026 walkthrough: what your home needs electrically, how permitting works, when to DIY versus hire a pro, and the five chargers I’d genuinely buy this year. If you want the deep-dive on dollars, pair this with my Level 2 charger installation cost guide. Here, the focus is on getting the install right.
Start With Your Electrical Panel, Not the Charger
Before you click “buy” on anything, you need to answer one question: does your panel have room for the load?
Most US homes have either a 100A or a 200A main service panel. A Level 2 charger is one of the largest continuous loads you can add to a house. A 48A charger pulls 11.5 kW, which is more than a clothes dryer and an oven combined. That’s why a load calculation matters.
Here’s the part that trips people up. The National Electrical Code requires that a continuous load (anything running 3+ hours, which charging absolutely is) be sized at 125% of the breaker, or put another way, the charger can only draw 80% of the breaker rating. So a 60A breaker legally supports a 48A charger, a 50A breaker supports 40A, and a 40A breaker supports 32A. You cannot run a 48A charger on a 50A breaker, even though the math looks close.
| Charger output | Breaker required | Copper wire | Speed | Miles/hour added |
|---|---|---|---|---|
| 32A | 40A | 8 AWG | 7.7 kW | ~25 |
| 40A | 50A | 8 AWG | 9.6 kW | ~30 |
| 48A | 60A | 6 AWG | 11.5 kW | ~37 |
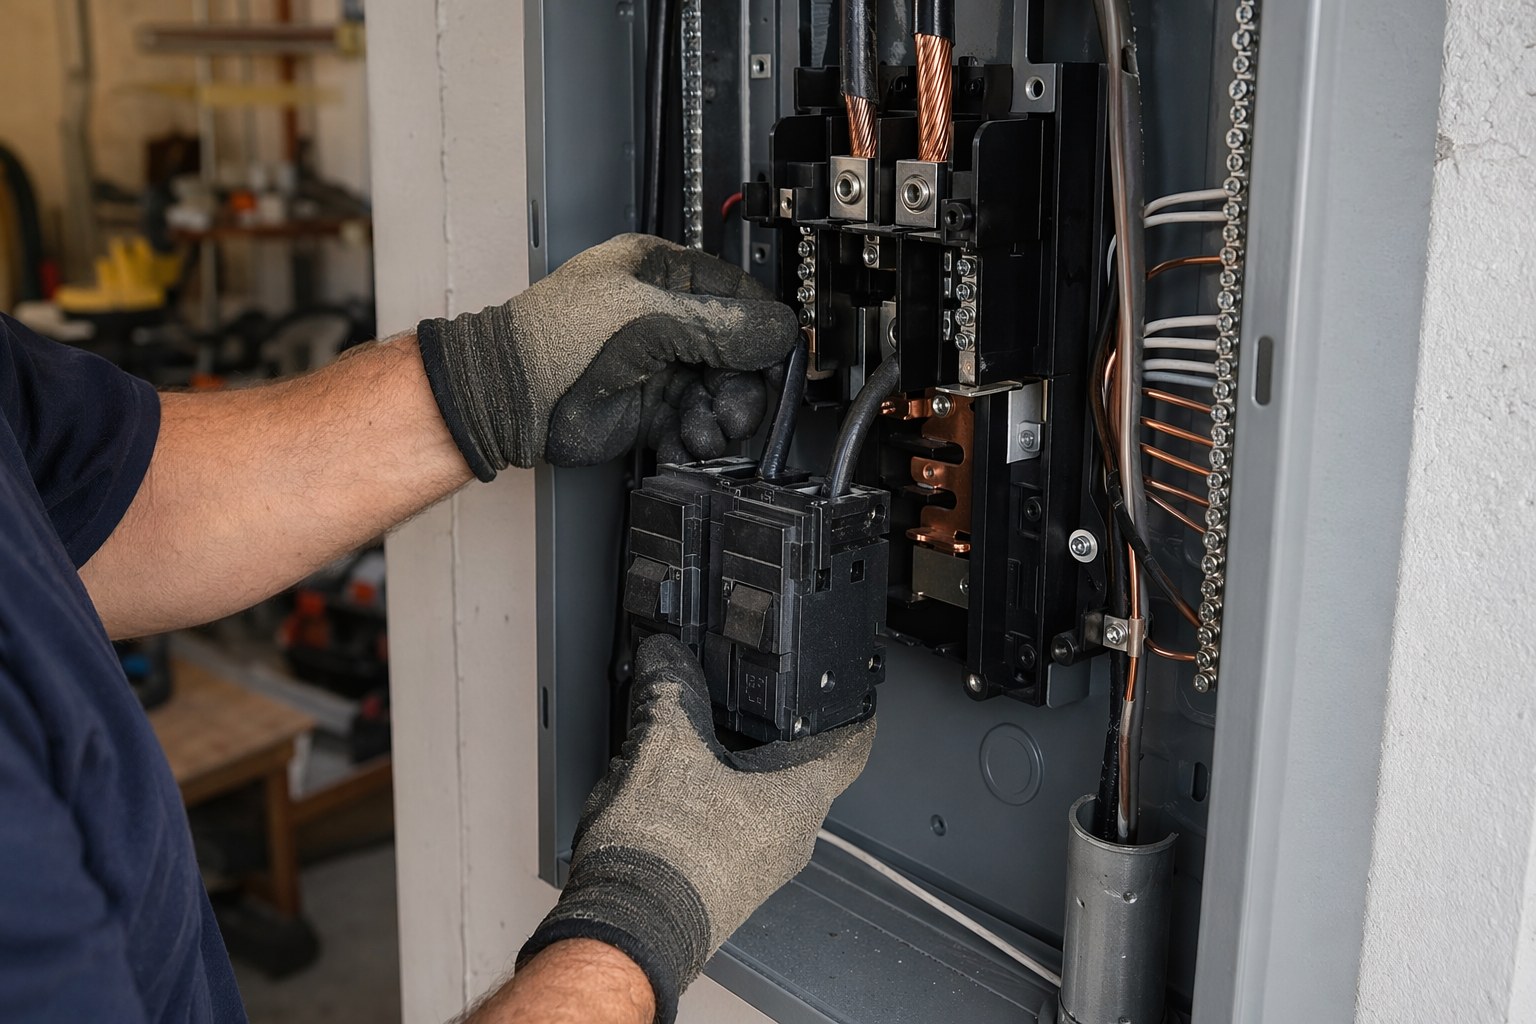
Does your panel have capacity? A licensed electrician runs a load calculation, adds up your existing loads (HVAC, water heater, dryer, range), and checks whether the panel can carry a charger on top. In my experience, roughly half of 200A homes can take a 48A charger with zero panel work. Older 100A panels are where it gets dicey.
If the panel is full or maxed, you have options that are far cheaper than people fear:
- Smart load management ($200-500): A device or a charger with built-in load sharing prevents the EV from drawing power while the dryer or oven is running. The ChargePoint Home Flex has this built in, and it saves countless people from an unnecessary panel upgrade.
- Subpanel ($800-1,500): Adds capacity for just the charger without replacing the main panel.
- Full 100A-to-200A upgrade ($1,500-3,000): The real expense, usually only for older homes adding big loads.
Plug-In (NEMA 14-50) vs. Hardwired
You’ll choose one of two install styles, and the choice affects both cost and your maximum charging speed.
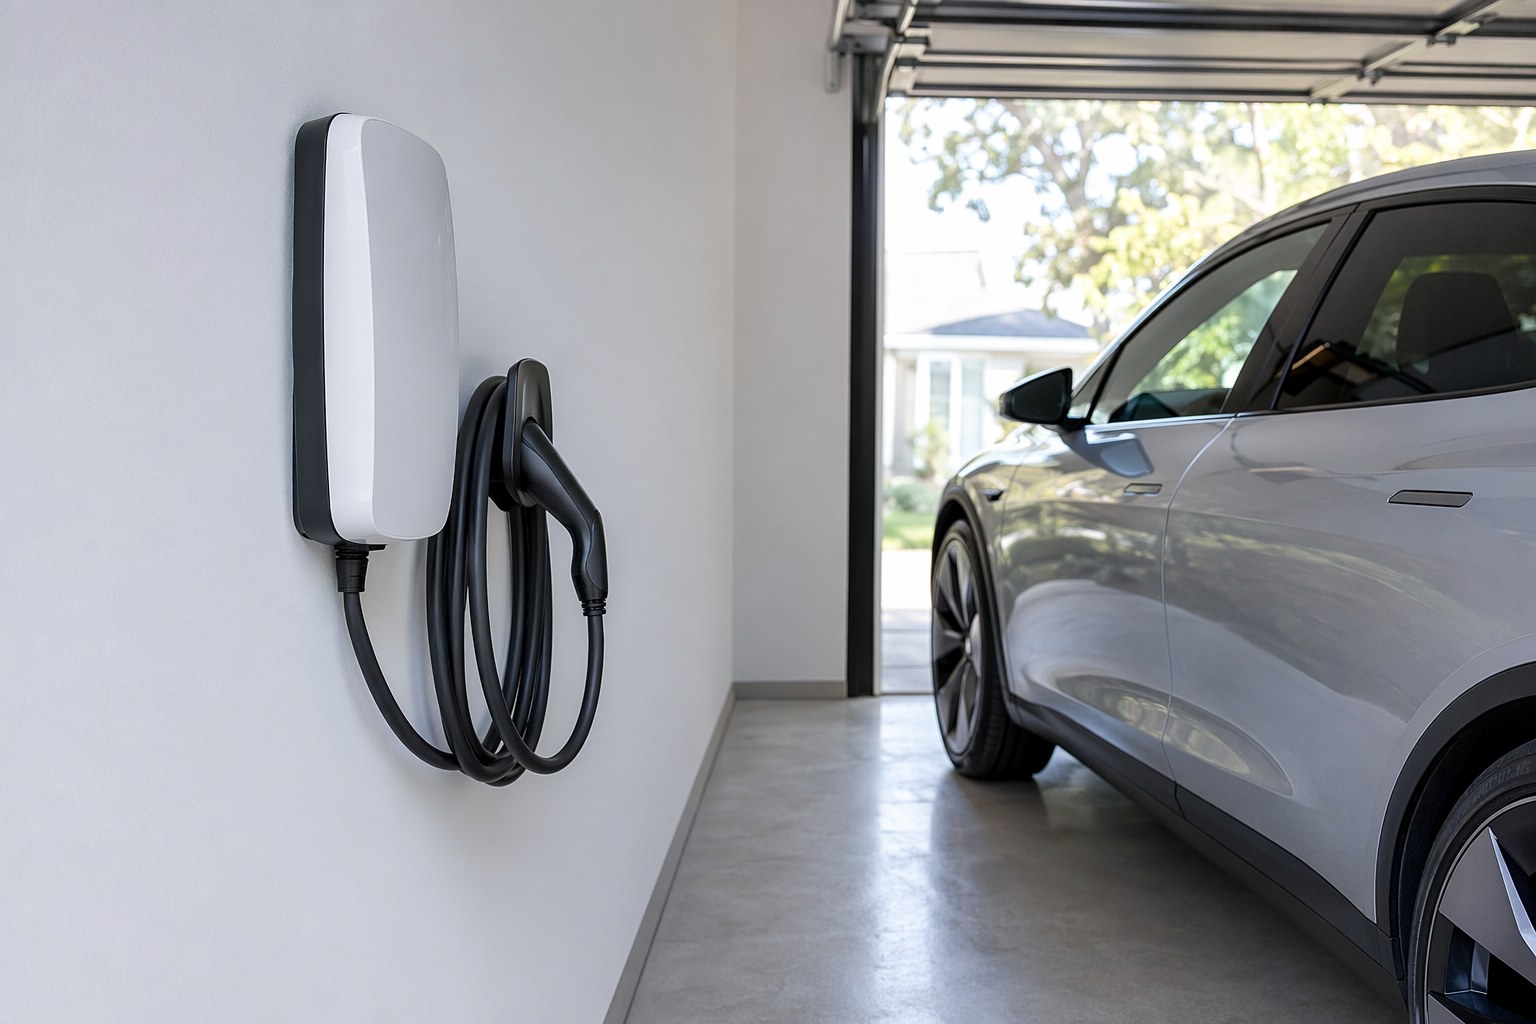
NEMA 14-50 plug-in. The charger plugs into a 240V dryer-style outlet. This is what I recommend for most people. It’s simpler and cheaper to install, you can unplug the unit and take it when you move, and swapping chargers later is trivial. The catch: plug-in chargers are capped at 40A (the outlet is rated for it), which still adds ~30 miles per hour, plenty for overnight charging of any current EV.
Hardwired. The charger wires directly into the circuit with no plug. This is required if you want the full 48A (and the extra ~7 miles/hour), it looks cleaner, and some jurisdictions mandate it for permanently mounted equipment outdoors. The downside is you can’t easily take it with you.
My honest take: unless you drive 150+ miles a day or have a giant truck battery, the difference between 40A and 48A is meaningless for overnight charging. Both fill your car while you sleep. Go plug-in for the flexibility unless you have a specific reason to hardwire. For a fuller breakdown of what charging actually costs versus gas once it’s installed, see my EV charging costs vs gas real-numbers comparison.
How Permitting Actually Works
Nearly every jurisdiction in the US requires an electrical permit to add a 240V circuit. The process is less scary than it sounds:
- Your electrician pulls the permit (usually $50-300, often baked into the quote).
- They run the circuit and install the charger to code.
- An inspector visits, checks the breaker, wire gauge, grounding, and GFCI protection, and signs off ($50-100, sometimes included).
Two things matter here. First, outdoor and garage 240V receptacles now generally require GFCI protection under the 2020 and later NEC, which some local codes have adopted. A good electrician handles this; a no-name handyman might not. Second, do not skip the permit to save money. Unpermitted electrical work can void your homeowners insurance (so a fire from the install isn’t covered), and it routinely surfaces during a home sale, forcing you to tear it out and redo it. I’ve watched that happen to a neighbor. It cost him more than doing it right the first time.
DIY vs. Professional Install: Where the Line Is
People ask me constantly whether they can do this themselves. Here’s my actual answer, with the line drawn clearly.
You can DIY if you already have a properly rated 240V outlet. If a previous owner left a NEMA 14-50 dryer outlet in the garage on a correctly sized circuit, a plug-in charger is genuinely plug-and-play. Mount it, plug it in, done. Spend $150 to have an electrician confirm the outlet is wired correctly and the breaker is right, and you’re set.
Hire a pro to run a new circuit. Running new 240V wire from the panel is where I draw the line, and not just for legal reasons. The consequences of a mistake here are a house fire, a denied insurance claim, or a failed inspection that blocks a home sale. In most jurisdictions it legally requires a licensed electrician and a permit anyway. This is not the place to save $400.
Where you can still save money:
- Buy the charger yourself. Electricians mark up hardware 20-30%. Buy the exact model you want and hand it to them.
- Do the prep. Clear access to the panel, install the mounting board, even run the low-voltage data wire yourself.
- Get three quotes. I’ve seen the identical job quoted at $900 and $2,400 in the same metro. Use a service like Qmerit for certified installers.
The 5 Best Home EV Chargers for 2026
I’ve installed or used every charger on this list. These are the ones I’d actually put on my own wall.
1. ChargePoint Home Flex — Best Overall
The ChargePoint Home Flex is the one I recommend most, and it’s not close. The killer feature is adjustable output from 16A all the way to 50A. That means you can install it at 32A on a smaller breaker today, then dial it up to 48A after a future panel upgrade, no new hardware needed. It does NEMA 14-50 plug-in or hardwired, has the best app in the category for scheduling off-peak charging, and includes built-in load management. The 23-foot cable reaches anywhere in a typical two-car garage. Around $699, but it’s the charger that adapts to your situation instead of forcing you to adapt to it.
2. Tesla Wall Connector — Best for Tesla (and Value)
The Tesla Wall Connector is the value surprise of this list. At roughly $475, you get a genuinely premium, sleek hardwired unit that delivers the full 48A. For Tesla owners it’s seamless, and it works with any J1772 car via the included or aftermarket adapter. The standout feature is power sharing across up to six units on a single circuit, ideal if you’re charging two cars or planning a second EV. The only knock: it’s hardwired-only, so you can’t take it with you as easily.
3. Wallbox Pulsar Plus 48A — Best Compact Design
If aesthetics matter, the Wallbox Pulsar Plus 48A is the smallest full-power Level 2 charger I’ve handled, about the size of a hardback book. It delivers 48A, has a clean app with scheduling and power sharing between two units, and a 25-foot cable. It runs a bit more than the others, but if it’s going on a visible interior wall, this is the one people stop and ask about. Available in both plug-in and hardwired versions.
4. Emporia Energy Level 2 48A — Best Value 48A
The Emporia Energy Level 2 48A consistently undercuts the bigger brands while delivering a full 48A and a surprisingly capable app. What sets it apart is its integration with Emporia’s home energy monitor: if you run their system, you get genuine whole-home energy data alongside your charging. Solid 24-foot cable, hardwired or plug-in. If you want 48A without paying ChargePoint money, this is my pick.
5. Lectron V-Box 48A — Best Budget Smart Charger
The Lectron V-Box 48A is the budget option I trust, and that matters because the cheap-charger category is full of junk. It’s UL-listed (non-negotiable, walk away from anything that isn’t), delivers 48A, includes WiFi scheduling, and routinely sells for well under the premium tier. The app is more basic and the build is plainer, but it charges reliably and safely. If you want smart features on a tight budget without rolling the dice on a no-name brand, start here.
My Recommendation by Situation
After all the installs I’ve done, here’s how I’d actually choose:
- You drive average miles and want it to just work: ChargePoint Home Flex. The adjustability future-proofs you.
- You own a Tesla: Tesla Wall Connector. Best integration, best value, full 48A.
- It’s going on a wall people will see: Wallbox Pulsar Plus.
- You want 48A without overspending: Emporia Energy Level 2.
- You’re on a strict budget but won’t risk safety: Lectron V-Box.
For my fully ranked head-to-head testing across more models, see the best Level 2 EV charger roundup.
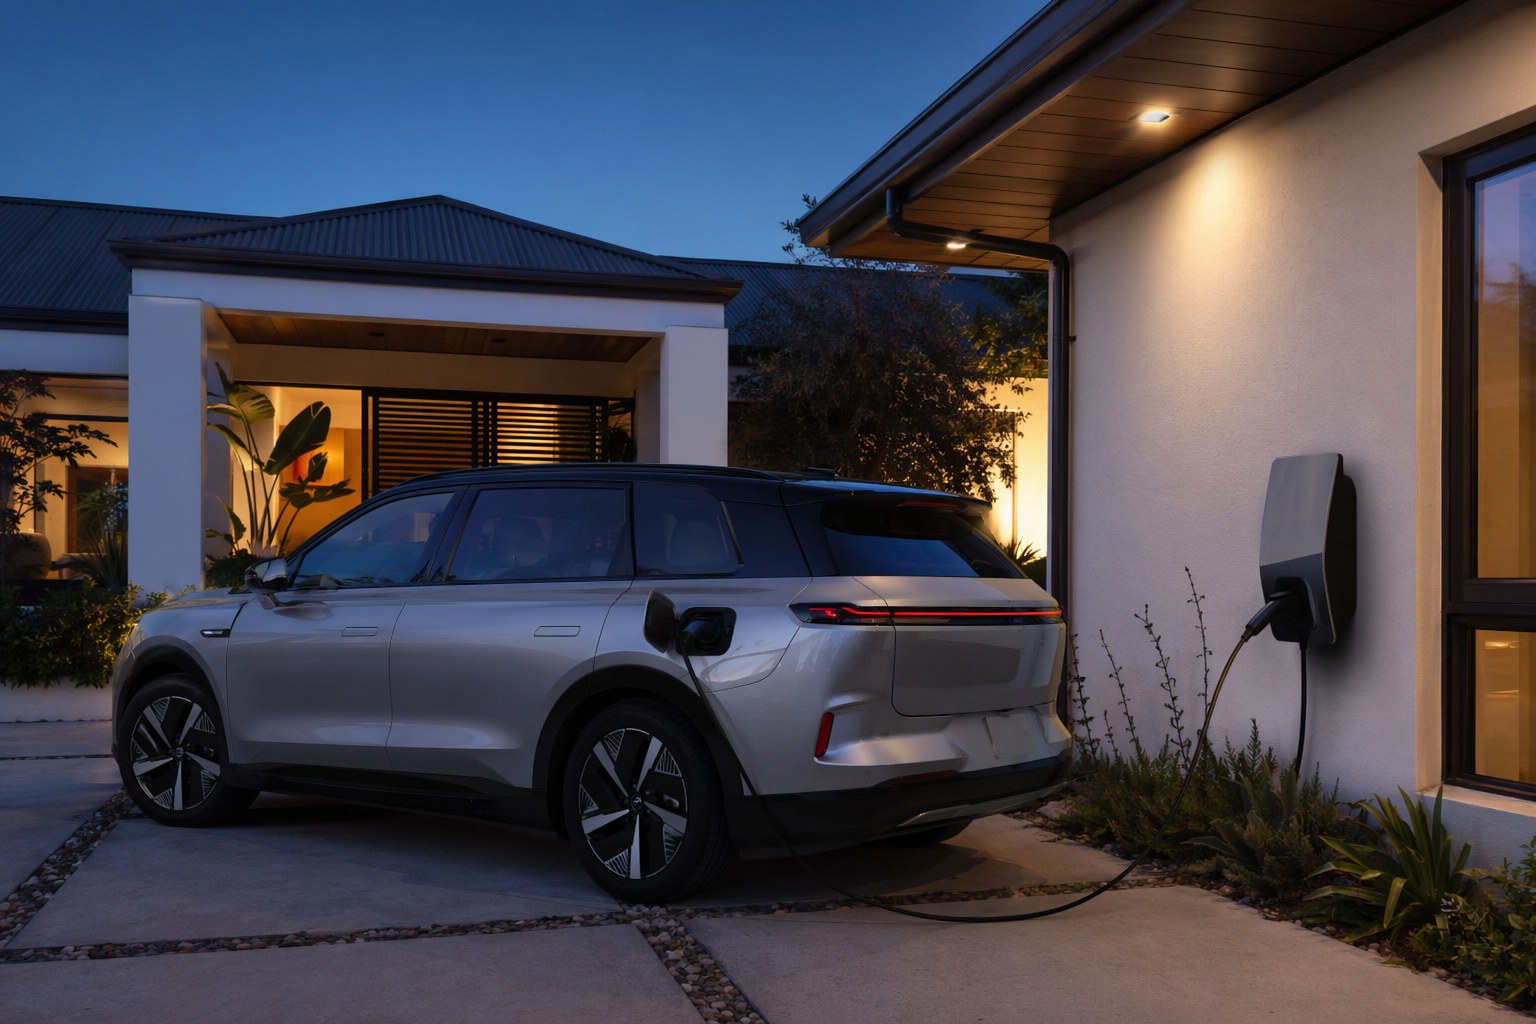
A Real Install, Start to Finish
To make this concrete, here’s a recent garage install I helped a friend plan near Austin in early 2026:
- Charger: ChargePoint Home Flex, $699, bought on Amazon (no electrician markup)
- Panel: 200A, two open slots, load calc passed at 48A with no upgrade
- Run: 14 feet from panel to garage wall, 6 AWG copper, 60A breaker
- Permit: $78, electrician pulled it, inspector signed off the next week
- Labor and materials: ~$540
- Total before incentives: ~$1,317
- Federal 30% credit (Section 30C): ~$395 back at tax time
- Net effective cost: roughly $920
For a charger that will save him well over $1,000 a year versus gas, the payback lands inside the first year. That’s the whole pitch: get the electrical right, pull the permit, buy a UL-listed charger that fits your panel, and you’ll wake up to a full battery every single morning without thinking about it again.
Quick Pre-Install Checklist
- Check your panel: 100A or 200A? Any open double-pole slots?
- Have a licensed electrician run a load calculation (~$100-200, money well spent).
- Decide plug-in (40A, portable, cheaper) vs. hardwired (48A, cleaner, permanent).
- Buy a UL-listed charger yourself to skip the markup.
- Confirm the electrician pulls the permit and schedules inspection.
- Claim your federal 30% credit and check your utility for local rebates.
Related Reading
- Level 2 EV Charger Installation Cost Guide — the full dollars-and-cents breakdown
- Best Level 2 EV Charger — my full ranked charger picks
- EV Charging Costs vs Gas 2026: Real Numbers — what you’ll actually save
Recommended Power Stations
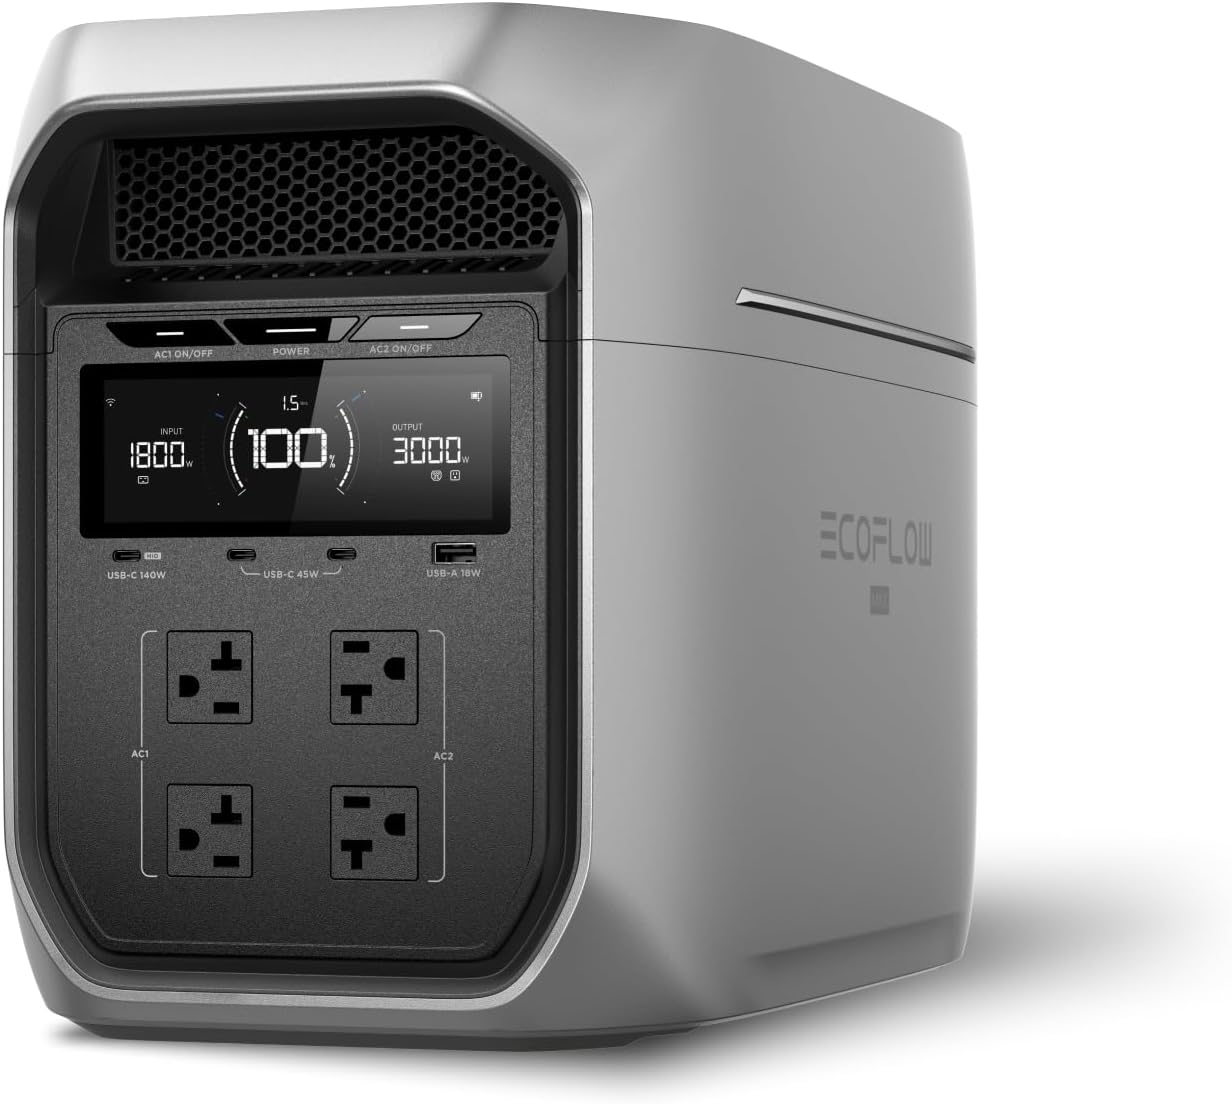
EcoFlow
EcoFlow DELTA 3 Plus
EcoFlow's newest mid-range flagship. The DELTA 3 Plus improves on the Delta 2 with faster charging, LiFePO4 chemistry, and UPS functionality — all at a lower price.
Frequently Asked Questions
What size breaker and wire do I need for a home EV charger?
It depends on the charger's amperage and the NEC 80% continuous-load rule. A 48A charger needs a 60A breaker and 6 AWG copper wire. A 40A charger needs a 50A breaker and 8 AWG copper. A 32A charger needs a 40A breaker and 8 AWG copper. If you buy an adjustable charger like the ChargePoint Home Flex, you can dial the output down to match a smaller breaker now and turn it up after a future panel upgrade without buying new hardware.
Do I need a permit to install a Level 2 charger at home?
Almost always, yes. Any new 240V circuit triggers an electrical permit in nearly every US jurisdiction, typically $50-300, plus a post-install inspection. Your electrician usually pulls it as part of the quote. Skipping the permit can void your homeowners insurance if the install causes a fire, and unpermitted work frequently surfaces during a home sale and has to be redone. It is not worth the risk to save $150.
Can I install an EV charger myself to save money?
If you already have a properly rated 240V NEMA 14-50 outlet, plugging in a plug-in charger is genuinely DIY, you mount it and plug it in. Running a brand-new 240V circuit is a different story: in most areas it legally requires a licensed electrician and a permit, and the consequences of a mistake (fire, insurance denial, failed inspection) are severe. You can still save money by doing the prep work and buying the charger yourself.
Ready to Buy? Here's What We Recommend
Based on our testing and this guide, these are the best options for most people: