Guide
How to Set Up a Complete Off-Grid Solar Power System (Step-by-Step)
TL;DR
A step-by-step guide to building your own off-grid solar power system with a portable power station. Covers sizing, panel placement, wiring, and optimization for camping, RV, or cabin use.
Whether you’re setting up a campsite, outfitting an RV, or preparing a cabin for off-grid weekends, a portable solar power system gives you clean, quiet, renewable electricity without running a generator or depending on shore power. This guide walks you through the entire process, from choosing equipment to optimizing your setup for maximum performance.
What You’ll Need
A complete portable off-grid solar system has just three main components:
1. Portable Power Station (Battery + Inverter)
This stores the energy your solar panels produce and converts it to usable AC and DC power for your devices. The power station replaces multiple components in a traditional off-grid system (batteries, charge controller, inverter, wiring) in a single plug-and-play unit.
2. Solar Panels
Portable folding solar panels generate electricity from sunlight. They connect directly to your power station via MC4 or proprietary cables.
3. Cables and Adapters
Most solar panels and power stations come with the necessary cables. You may need additional MC4 connectors, extension cables, or Y-splitters if connecting multiple panels.
That’s it. No electrician, no permits, no roof penetrations. A portable solar system can be set up in 15 minutes and packed away just as quickly.
Step 1: Calculate Your Power Needs
Before buying anything, figure out what you’ll be powering and for how long.
Make a device list:
| Device | Watts | Hours/Day | Daily Wh |
|---|---|---|---|
| Phone charging | 15W | 2 | 30 Wh |
| Laptop | 60W | 6 | 360 Wh |
| LED lights (3x) | 30W | 6 | 180 Wh |
| 12V mini fridge | 50W | 24* | 400 Wh |
| WiFi hotspot | 10W | 12 | 120 Wh |
| Total | 1,090 Wh/day |
*Compressor fridges cycle on/off, running roughly 33% of the time, so 50W × 24hr × 0.33 ≈ 400Wh.
Add a 20% buffer: 1,090 × 1.2 = 1,308 Wh/day
This means you need a power station with at least 1,300Wh capacity, and enough solar to replenish that each day.
For a detailed walkthrough of this calculation, see our power station sizing guide or use our power calculator tool.
Step 2: Choose Your Power Station
Based on your daily energy needs, select a power station with enough capacity to get through at least one night (since solar only works during daylight):
For light use (under 500Wh/day):
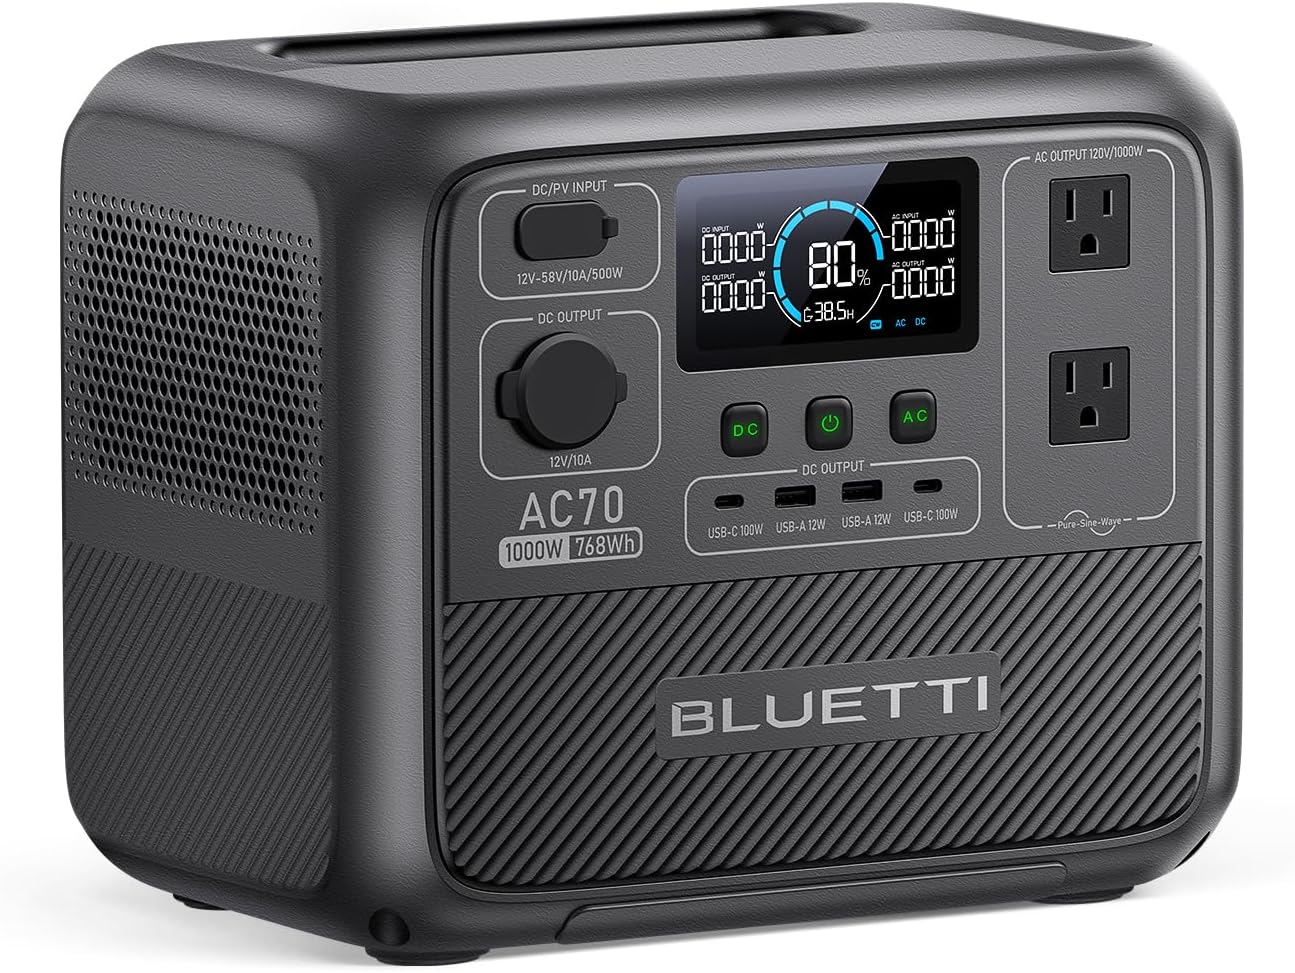
- Bluetti AC70 — 768Wh, 1,000W output, $499
- EcoFlow RIVER 3 — 245Wh, 600W output, $199
For moderate use (500-1,500Wh/day):
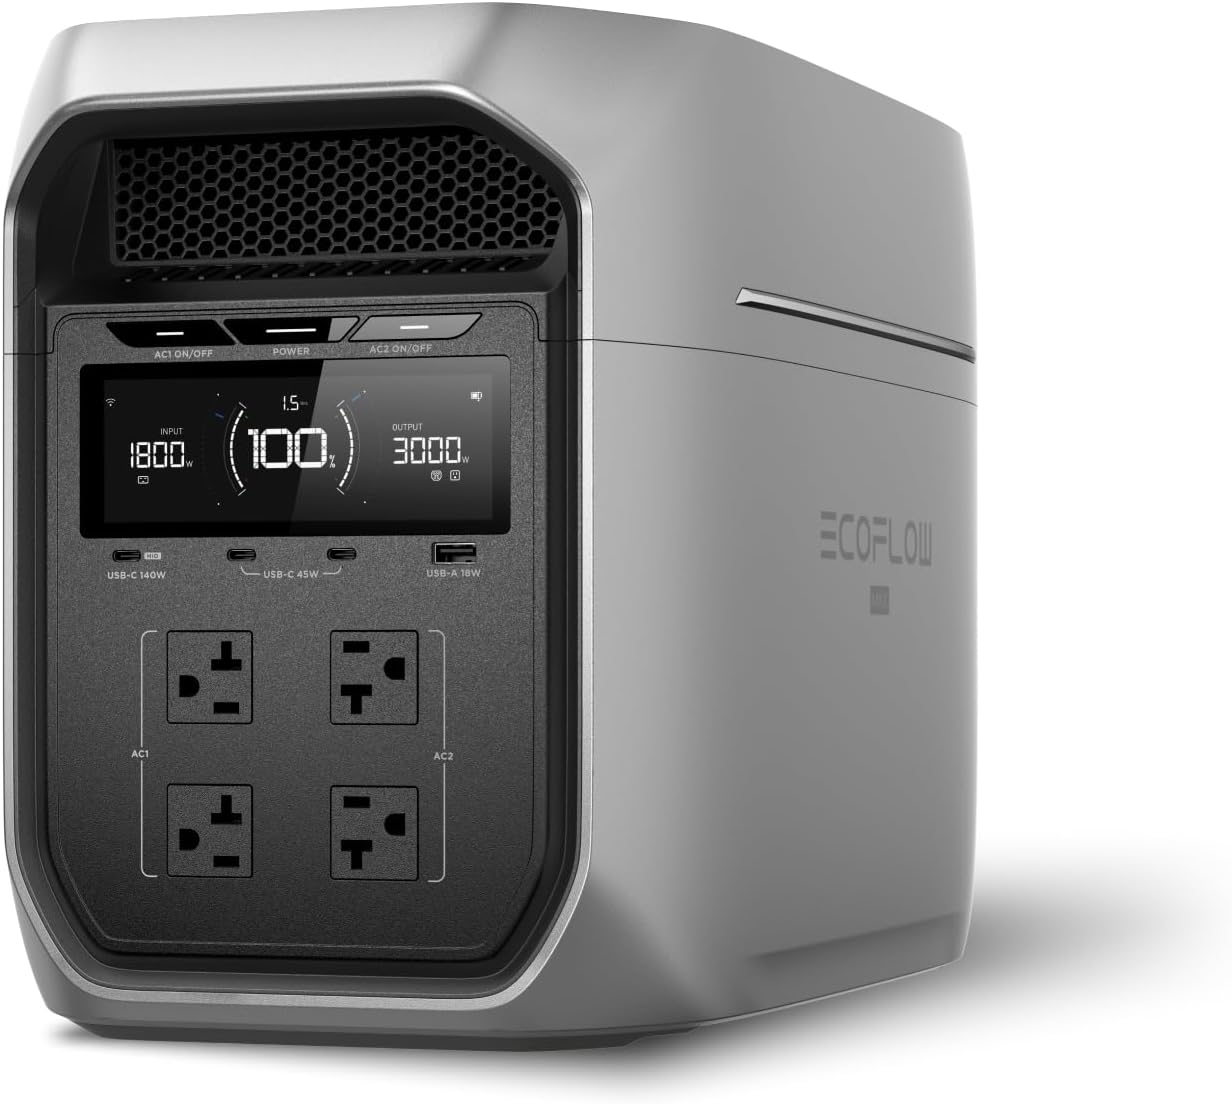
- EcoFlow DELTA 3 Plus — 1,024Wh, 1,800W output, 500W solar input, $649
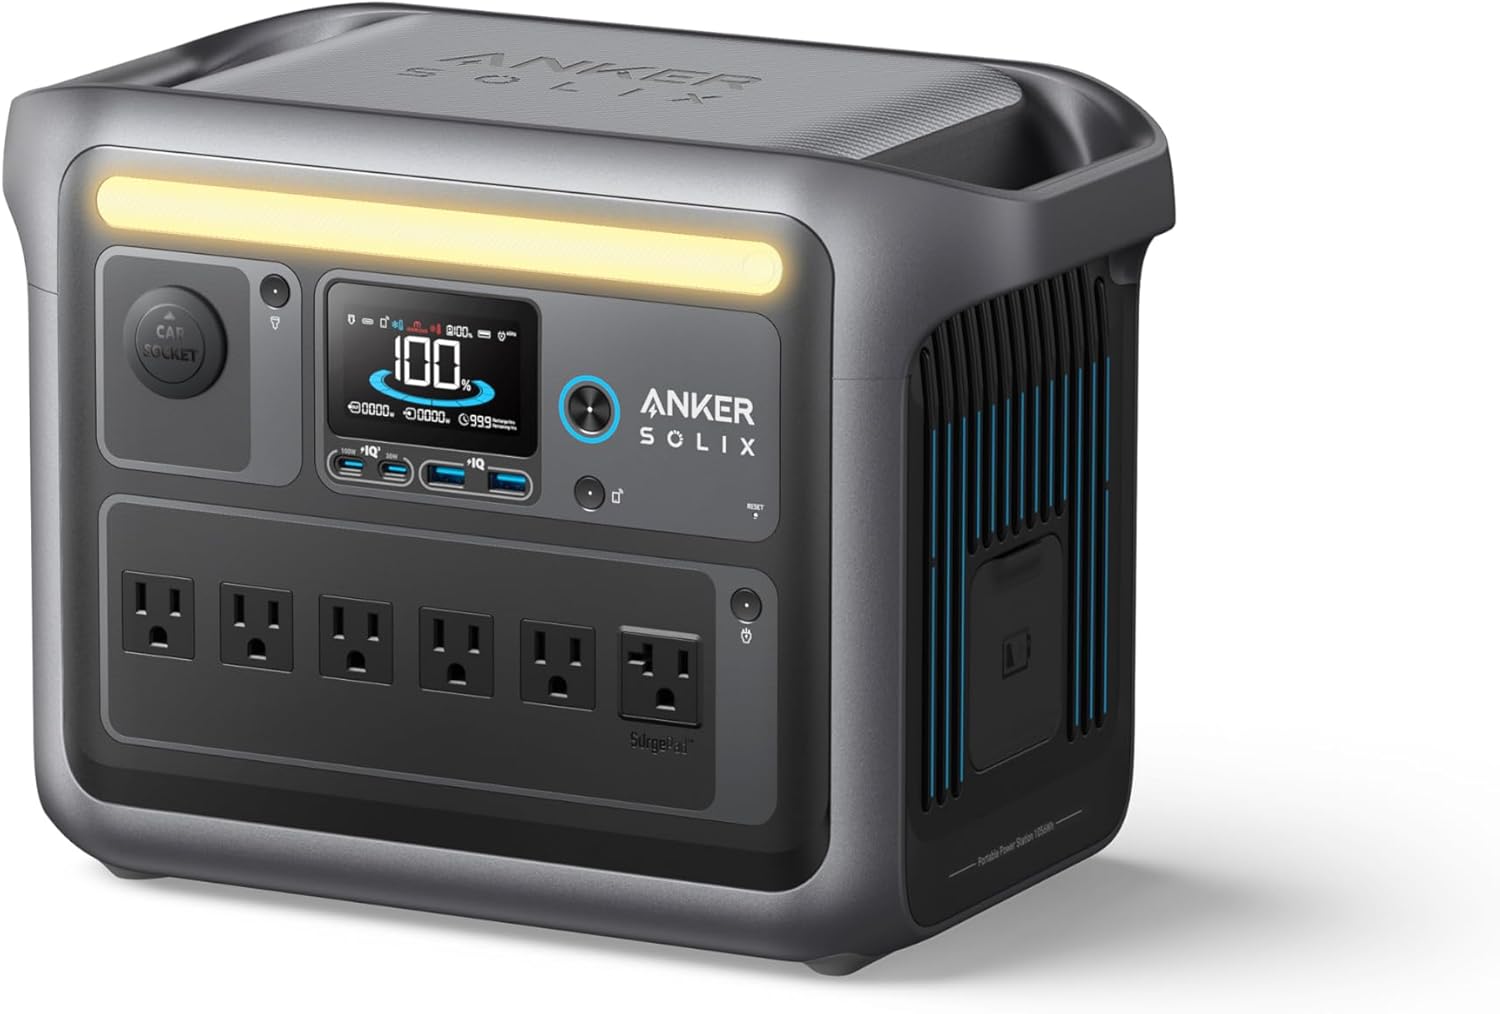
- Anker SOLIX C1000 — 1,056Wh, 1,800W output, $699
- Jackery Explorer 1000 v2 — 1,070Wh, 1,500W output, $799
For heavy use (1,500-3,000Wh/day):
- EcoFlow DELTA 2 Max — 2,048Wh, 2,400W output, $1,699
- Bluetti Elite 200 V2 — 2,073Wh, 2,700W output, $1,099
- Jackery Explorer 2000 Plus — 2,042Wh expandable, $1,999
For extended off-grid (3,000Wh+/day):
- EcoFlow DELTA Pro 3 — 4,096Wh expandable to 48kWh, 1,600W solar input, $1,999
Key specs to prioritize:
- Solar input wattage — Higher is better for faster solar charging. 500W+ solar input means full recharge in 2-3 hours of good sun.
- LiFePO4 battery chemistry — 3,000+ cycle life means years of daily use
- Expandability — Extra battery packs let you grow the system without replacing the core unit
Step 3: Size Your Solar Panels
The formula: Daily Wh needed ÷ Peak Sun Hours ÷ 0.7 (real-world efficiency factor) = Panel wattage needed
Example: 1,308 Wh/day ÷ 5 PSH ÷ 0.7 = 374W of panels
Round up to the next available panel size — in this case, 400W (two 200W panels).
Important: Don’t exceed your power station’s maximum solar input. If the station accepts 500W max, there’s no benefit to connecting 600W of panels (the charge controller will cap intake at 500W, though this does help maintain closer to max input when conditions aren’t ideal).
Recommended solar panels:
| Wattage | Best For | Example Products |
|---|---|---|
| 100-110W | Light use, backpacking | EcoFlow 110W, Jackery SolarSaga 100 |
| 200W | Moderate use, car camping | Bluetti PV200, Anker 625 |
| 400W (2x200W) | Heavy use, RV/cabin | EcoFlow 220W Bifacial (x2), Jackery SolarSaga 200 (x2) |
See our best solar panels for power stations guide for detailed reviews.
Step 4: Set Up Your System
Choosing a Location for Panels
Ideal placement:
- South-facing (in the Northern Hemisphere) for maximum daily exposure
- Unobstructed view of the sky from 9am to 3pm (the most productive hours)
- Tilted toward the sun at your latitude angle (roughly 30-45° in the continental US)
- On a stable surface protected from wind gusts
At a campsite: Set panels on a picnic table, lean against a cooler, or use the built-in kickstand. Position them where passing foot traffic won’t knock them over or cast shadows.
On an RV: Roof-mounted panels are most convenient but limit angle adjustment. Ground-deployed panels can be aimed more precisely. Some RVers use a combination of both.
At a cabin: A semi-permanent ground mount or pole mount lets you set the optimal angle seasonally. South-facing porch railings also work well.
Connecting Panels to the Power Station
- Unfold and position your panel(s) facing the sun
- Connect panels to each other (if using multiple panels) using the provided daisy-chain cables. Most portable panels connect in series — voltages add, which is what most power stations prefer.
- Check the combined voltage stays within your power station’s input range. Two panels in series doubles the voltage. If your power station accepts 11-60V and each panel outputs 22V open circuit, two in series = 44V — within range.
- Connect the panel cable to the power station’s solar input port. Use the correct adapter if the panel’s connector doesn’t match the station’s input.
- The power station should automatically detect the solar input and begin charging. Check the display for incoming wattage.
Optimizing Panel Angle Throughout the Day
For maximum energy capture:
- Morning (7-10am): Tilt panels southeast, about 60° from horizontal
- Midday (10am-2pm): Face panels due south, tilted at your latitude angle (30-45°)
- Afternoon (2-5pm): Tilt panels southwest, about 60° from horizontal
Adjusting every 2-3 hours typically gains 20-30% more energy than leaving panels in one position all day. If you won’t be around to adjust, set them facing due south at your latitude angle and leave them — this captures the most energy from a fixed position.
Step 5: Manage Your Energy Budget
Once your system is running, the key to off-grid success is consuming less energy than your panels produce each day.
Monitor your power station’s display
Most modern power stations show:
- Current solar input (watts coming in)
- Current load (watts going out)
- Battery percentage remaining
- Time to full charge / time to empty
Daily energy management tips:
Run high-draw devices during peak solar hours. Charge laptops, run blenders, and use hair dryers when your panels are producing maximum power. The energy goes directly from panel to device with minimal battery cycling.
Shift loads to reduce simultaneous draw. Instead of running a coffee maker and microwave at the same time, stagger them. This prevents exceeding your station’s output capacity and reduces strain on the battery.
Use 12V DC when possible. Running a 12V fridge from the power station’s DC output avoids the 10-15% energy loss of the AC inverter. USB charging is also more efficient than plugging in a wall-wart AC charger.
Turn off the AC inverter when not in use. The inverter draws 10-30W even with nothing plugged in. If you’re only using USB and DC outlets, switch the AC off.
Step 6: Weatherproofing and Safety
Rain and moisture
Power stations are NOT waterproof. Keep them under cover — inside a tent vestibule, under an awning, or in a ventilated storage compartment. Solar panels are typically IP65 or IP67 rated and can handle rain, but their connectors should stay dry.
Heat management
Don’t place your power station in direct sunlight. Heat reduces battery life and charging efficiency. Keep it in shade, with ventilation around the cooling fans. The portable power station safety guide covers temperature management in detail.
Cold weather
LiFePO4 batteries charge poorly below 32°F (0°C). Most power stations disable charging below freezing to protect the battery. They can still discharge in cold weather, but capacity is reduced. If camping in cold conditions, keep the power station inside your vehicle or insulated space overnight.
Lightning
Disconnect solar panels during thunderstorms. While lightning strikes on small portable panels are rare, the electrical surge from a nearby strike could damage your power station’s charge controller.
Budget Builds: Three Sample Systems
Budget Camping System (~$750)
- Bluetti AC70 — 768Wh, $499
- Bluetti PV200 — 200W portable panel, ~$250
- Daily capacity: ~600-800Wh with solar
- Good for: Weekend camping, phone/laptop charging, LED lights, small fan
Mid-Range RV System (~$1,400)
- EcoFlow DELTA 3 Plus — 1,024Wh, $649
- 2x EcoFlow 220W Bifacial Panels, ~$700
- Daily capacity: ~1,500-2,000Wh with solar
- Good for: Full-time RV boondocking, fridge, laptop, lights, small appliances
Premium Off-Grid System (~$3,000)
- EcoFlow DELTA Pro 3 — 4,096Wh, $1,999
- 2x 400W rigid panels, ~$800-1,000
- Daily capacity: ~3,000-4,000Wh with solar
- Good for: Off-grid cabin, extended boondocking, running AC and full kitchen
Troubleshooting Common Issues
Solar input shows 0W:
- Check cable connections at both panel and power station
- Ensure panels are in direct sunlight (not behind glass — car windshields block UV)
- Verify voltage is within the power station’s input range
- Try disconnecting and reconnecting
Solar input is much lower than panel rating:
- This is normal. Real-world output is 50-80% of rated power. See our solar panel guide for why.
- Check for partial shading — even small shadows dramatically reduce output
- Adjust panel angle toward the sun
- Clean dirty panel surfaces
Power station shuts off when starting a device:
- Device’s startup surge exceeds peak watts. Try a higher-output power station or a device with a soft-start option.
Battery drains overnight faster than expected:
- Turn off the AC inverter if no AC devices are running (10-30W phantom drain)
- Check for devices in standby mode that are still drawing power
The Bottom Line
A portable off-grid solar system is one of the most practical investments for anyone who camps, RVs, lives in a storm-prone area, or wants backup power. Modern power stations and folding solar panels have made it genuinely plug-and-play — no electrical knowledge required, no permanent installation, and no ongoing fuel costs.
Start with a system matched to your actual needs (not your aspirational needs), learn the basics of energy budgeting, and expand later if needed. Our comparison tool lets you compare power stations side-by-side, and our solar panel compatibility guide ensures your panels and station work together.
Related Reading
- How Solar Panels Work — understanding the technology
- Best Solar Panel + Power Station Combos — pre-matched kits
- Complete Campsite Power Guide — campsite-specific setup tips
- Complete RV Power System Guide — RV-specific considerations
- Best Solar Generator for Off-Grid — top off-grid picks
Recommended Power Stations
EcoFlow
EcoFlow DELTA 3 Plus
EcoFlow's newest mid-range flagship. The DELTA 3 Plus improves on the Delta 2 with faster charging, LiFePO4 chemistry, and UPS functionality — all at a lower price.
Frequently Asked Questions
How much does an off-grid solar system cost?
A basic portable off-grid system (power station + solar panels) costs $600-$2,500. A budget camping setup might be a Bluetti AC70 ($499) with a 200W panel ($250) for about $750 total. A robust RV/cabin system could be an EcoFlow DELTA Pro 3 ($1,999) with 400W of panels ($500-700) for about $2,500-2,700. Compared to a professional whole-home solar installation ($15,000-30,000), portable systems are dramatically more affordable.
Can I run my whole house on a portable solar system?
Not practically. A typical US home uses 30 kWh per day. Even the largest portable power stations (4-5 kWh) would need to be charged 6-7 times daily. Portable solar systems excel at powering essentials — fridge, lights, phones, WiFi, CPAP — during outages or off-grid situations. For whole-home solar, you need a rooftop installation with grid-tied inverters and a home battery like Tesla Powerwall.
How long do portable solar panels last?
Quality monocrystalline solar panels typically maintain 80%+ efficiency for 20-25 years. Portable panels with proper care (avoiding physical damage, keeping connectors dry, storing folded when not in use) should last 10-15+ years. The power station will likely need replacing before the panels do.
Do I need a charge controller for my solar setup?
If you're using a power station, no — the charge controller (typically MPPT) is built into the power station. You only need a standalone charge controller if you're building a DIY system with bare batteries, which we don't recommend for beginners due to safety concerns.
Ready to Buy? Here's What We Recommend
Based on our testing and this guide, these are the best options for most people: